- All
- Product Name
- Product Keyword
- Product Model
- Product Summary
- Product Description
- Multi Field Search
Please Choose Your Language
Full deck tear-outs involve massive labor hours, high disposal fees, and stressful delays. Timelines frequently stretch for weeks. For structurally sound decks, covering the existing surface offers a highly efficient alternative. Upgrading an aging patio or wooden deck requires bridging the gap between a quick cosmetic facelift and long-term durability. High-quality Snap-Lock Deck Tiles provide a fast, non-destructive installation method. You simply must verify the sub-surface meets strict structural and leveling criteria before starting. This comprehensive guide covers how to assess your existing foundation safely. You will discover the exact preparation steps required to ensure a flawless overlay. We also detail the specific installation techniques for a smooth, lasting finish. Expect practical tips on handling transitions and complex cuts. By following these steps, you achieve a beautiful deck upgrade while bypassing messy demolitions.
Structural prerequisites: Your existing surface must be load-bearing, rot-free, and relatively flat; deck tiles are a cosmetic solution, not a structural repair.
Material matters: Composite snap-lock deck tiles offer the best balance of drainage, rot resistance, and low-maintenance longevity for over-top installations.
Preparation is critical: Proper cleaning, sealing, and leveling of the old surface prevent trapped moisture and warranty-voiding tile shifts.
Versatility: While ideal for concrete and old wood, installing over soft ground (grass/dirt) requires specific groundwork (gravel base and weed barriers).
We must evaluate your existing surface before attempting any overlay. A tile overlay serves as a cosmetic solution. It never replaces structural integrity. We must verify the foundation remains entirely sound. Covering a failing deck accelerates its inevitable collapse. Establishing a clear decision framework prevents dangerous mistakes later.
We recommend inspecting the frame and joists meticulously. Look for any signs of structural weakness. You can use this simple evaluation chart to guide your decision process effectively:
Evaluation Criteria | Go (Proceed with Overlay) | No-Go (Require Structural Repair) |
|---|---|---|
Wood Rot Assessment | Less than 10% surface rot; joists solid. | Over 10% surface rot; spongy or crumbling joists. |
Surface Deflection | Firm underfoot; minimal bounce. | Significant sagging or bouncing between joists. |
Overall Flatness | Even plane; minor gaps easily sanded. | Severe cupping; height differences exceeding 1/4 inch. |
Drainage Capacity | Water flows off naturally; no pooling. | Standing water remains 24 hours after rain. |
Identifying wood rot requires hands-on probing. You should take a flathead screwdriver or a steel ice pick. Press it firmly into existing planks and hidden joists. Soft spots indicate trapped moisture and active rot. We suggest calculating the total damaged area accurately. If more than 10 percent requires structural patching, reconsider a full tear-out. Overlaying a heavily rotted frame creates immense safety hazards for your family.
We also must consider total weight-bearing capacity. These modular units add minimal weight to your structure. They typically weigh between 1.5 to 2.5 pounds per square foot. However, the sub-structure must safely support this combined dead load. Always verify local building codes ensure compliance for double-layered decking.
Surface flatness dictates the final aesthetic. Evaluate the existing leveling and potential deflection carefully. These modular solutions require a hard, even surface for optimal performance. Significant dips cause major alignment problems. Severely warped boards stress the interlocking mechanisms constantly. Stressed locks eventually disengage under standard foot traffic. We see this common mistake ruin many DIY projects.
Different foundation materials demand unique preparation strategies. We frequently see installations over wood, concrete, and sometimes soft ground. Each material presents distinct execution realities. Understanding these realities prevents premature material failure.
Installing over old wood decks requires extensive moisture management. You cannot simply cover decaying timber and expect longevity. You must patch existing holes first. Secure all loose screws to prevent shifting beneath the overlay. Next, apply a robust waterproof sealant across the entire wooden surface. This vital step prevents the old wood from rotting beneath your new overlay. Moisture easily becomes trapped between the layers otherwise.
Here are the execution realities for common surfaces:
Old Wood Decks: Requires patching holes, securing loose fasteners, and applying two coats of waterproof sealant. Failure to seal the wood guarantees accelerated rotting underneath.
Concrete Patios: Represents the lowest-risk scenario. Concrete provides a dense, unyielding foundation. You only need to check for proper grading. Ensure the slope prevents water from pooling beneath the modules.
Soft Ground (Edge Case): Direct installation over soil is highly discouraged. Soil inevitably sinks and shifts under daily foot traffic, breaking the tabs.
Installing over grass or dirt serves as an extreme edge case. If you must proceed, you need a specific groundwork workaround. You must excavate two to four inches of topsoil first. Next, lay a heavy-duty weed barrier across the exposed earth. Finally, pour and compact a crushed stone base. You must level this gravel bed completely before placing any Snap-Lock Deck Tiles on top. Skipping the gravel base causes the surface to buckle after the first heavy rain.
Skipping preparation leads to guaranteed failure. Proper surface remediation ensures long-lasting results. We must power wash the entire area first. This removes years of embedded dirt, slick algae, and loose splinters. If you install over old wood, treat the boards heavily. Use a commercial-grade fungicide to kill hidden mold spores. You must wait until the surface feels 100 percent dry before proceeding. Trapped moisture ruins even the best installations.
Addressing warped planks demands your immediate attention. You cannot build a flat surface on a wavy foundation. Sand down cupped edges aggressively using a belt sander. Replace severely warped boards entirely. This effort creates the flush foundation necessary for a seamless overlay. Many homeowners skip sanding and regret the uneven final results immediately.
Mapping the layout prevents frustrating mistakes later. You should measure your total square footage carefully. Proper measurement minimizes narrow, ugly edge cuts along the walls. We suggest establishing your primary viewing angle first.
Follow these essential layout mapping steps for a professional aesthetic:
Determine the main focal point of your outdoor space (e.g., the patio door).
Snap a chalk line down the exact center of the deck area.
Dry-fit a single row of materials from the center outward to the edge.
Check the remaining gap width at the outer perimeter.
Adjust the center line slightly to ensure all edge cuts exceed three inches.
This centering technique looks highly professional. It avoids tiny slivers of material at the borders. Starting blindly from one corner often leaves you wrestling tiny puzzle pieces on the opposite side.
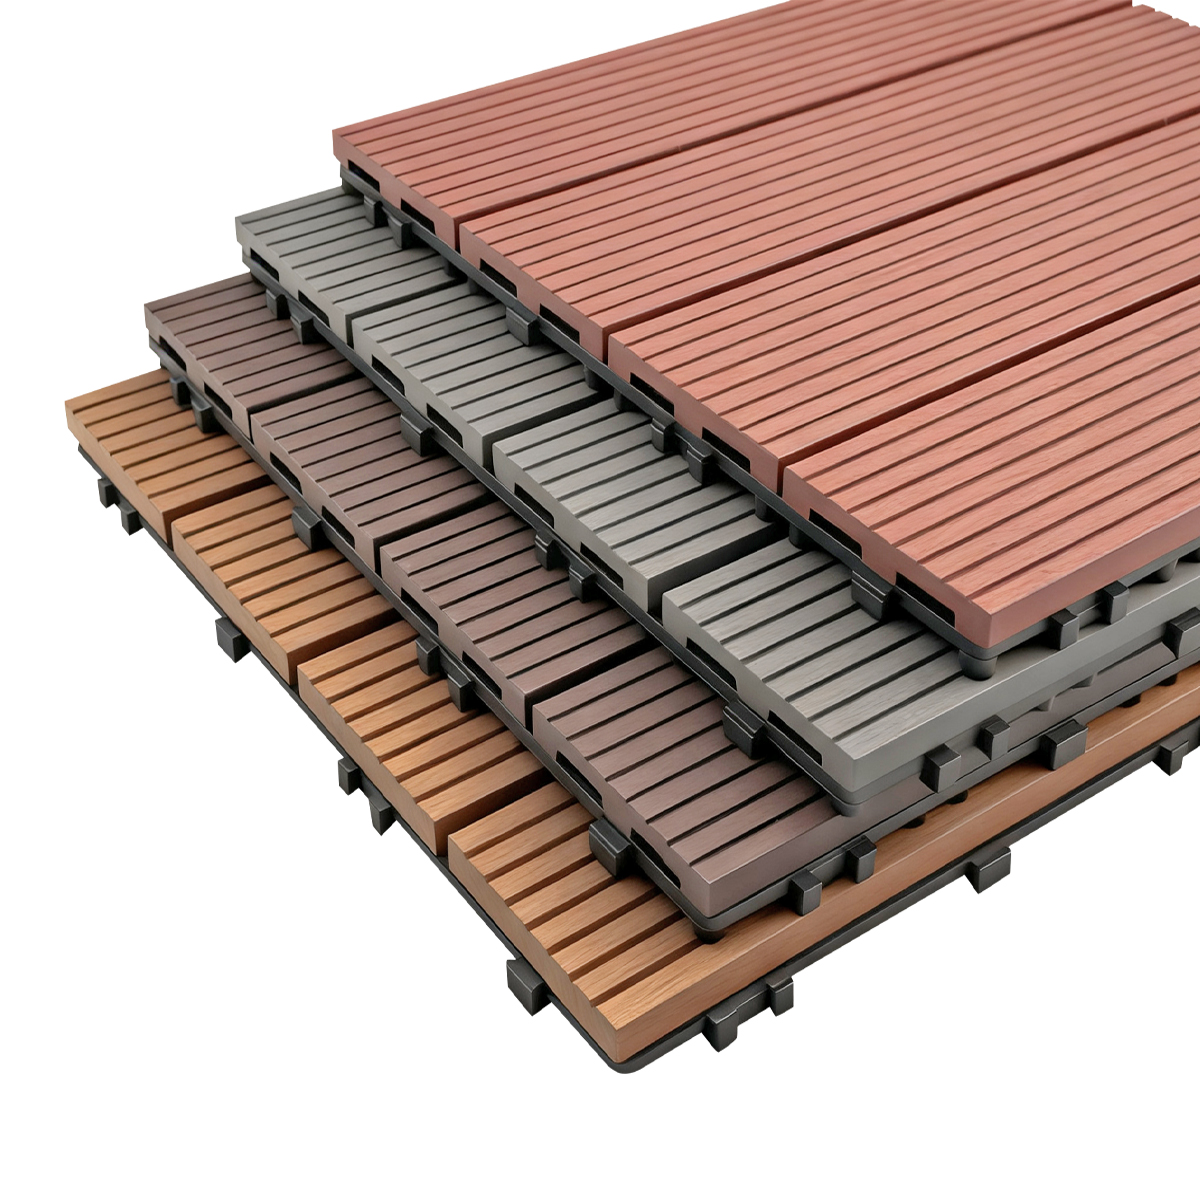
Understanding the snap-lock mechanism makes assembly incredibly intuitive. The interlocking grid system allows for natural thermal expansion. It accommodates typical contraction safely during weather shifts. You do not need messy construction adhesives. You avoid using traditional metal fasteners entirely. The hidden tabs simply click together under direct downward pressure.
You need a specific set of tools for optimal efficiency. We curated this required tooling checklist for your project:
Tool Needed | Primary Purpose |
|---|---|
Rubber Mallet | Seating locks firmly together without cracking the composite material. |
Chalk Line | Establishing perfectly straight layout guides across large patios. |
Jigsaw | Cutting complex curves around railing posts and downspouts. |
Fine-Tooth Circular Saw | Ripping clean, straight edge cuts for the perimeter borders. |
Tape Measure | Accurately sizing gap fillers and transition pieces. |
Obstruction management separates amateur jobs from professional results. You will inevitably encounter railing posts, downspouts, and HVAC units. Measure these obstacles meticulously. Transfer the dimensions onto the back of your piece. Use a jigsaw to notch out the exact shape. Always leave a quarter-inch expansion gap around fixed posts. This gap prevents buckling during extreme summer heat. Heat causes the composite material to swell slightly.
Managing edges and transitions ensures safety and aesthetics. Exposed plastic grids look unfinished. They also create dangerous tripping hazards for guests. We strongly recommend utilizing specialized edge-transition pieces. You can snap on sloped ramp edges at the doorways. You can also attach fascia trims along the elevated perimeter. These accessories hide the underlying grid perfectly. They provide a polished, trip-free border.
We must evaluate the return on investment beyond the initial materials. A proper analysis highlights immense long-term value. Premium composite options provide remarkable labor savings. You bypass expensive demolition crews entirely. You avoid renting massive disposal dumpsters for rotting timber. You also eliminate the grueling labor hours required for framing new joists. The overlay method delivers a brand-new aesthetic in mere hours instead of weeks.
Drainage and airflow play crucial roles in overall lifespan. We strongly suggest evaluating the grid understructure of any chosen material. High-quality modules feature an elevated walking surface. This vital gap allows rainwater to flow away instantly. It promotes continuous ambient airflow underneath the deck. Superior airflow prevents harmful mold growth on the sub-surface below. Poor airflow traps humidity, which destroys both the overlay and the foundation.
Warranty compliance protects your investment long-term. You must understand the manufacturer's installation prerequisites clearly. Most brands specify a maximum allowable sub-surface slope. Exceeding this slope voids the warranty immediately. They also mandate approved cutting methods for their products. Always read the documentation thoroughly before starting your project. Preserving your warranty ensures peace of mind against manufacturing defects.
Your next steps involve physical material testing. Never blindly order a massive bulk freight shipment. We always advise ordering sample boxes first. Test the interlocking strength yourself. Verify the color matching against your home exterior siding. Experiencing the texture in person builds confidence for the final installation. Testing samples also helps you calculate the exact number of edge ramps required.
Installing an overlay remains a proven strategy to bypass demolition. You can transform an aging patio rapidly. The foundation simply must be solid, level, and properly prepped.
We strongly recommend prioritizing surface preparation over installation speed. A well-sealed base ensures your system locks securely. A level foundation guarantees proper drainage for decades. Rushing the groundwork only creates shifting issues later.
Inspect your current deck for rot today. Measure your usable square footage carefully. Order a sample kit to verify material quality and interlocking strength. You can achieve a flawless outdoor upgrade this weekend.
A: No. Installing directly on soft ground causes uneven settling and breaks the interlocking tabs. You must create a leveled, compacted gravel base with a weed barrier first. This foundation prevents shifting, prevents weed growth, and provides the rigid support necessary for the locking mechanisms to function properly under foot traffic.
A: It can, if moisture is trapped. To prevent this, you must clean, thoroughly dry, and seal the old wood before installation. Choose deck tiles with an open-grid backing to promote airflow and drainage. Proper preparation prevents the old timber from decaying beneath your new cosmetic overlay.
A: Most manufacturers offer compatible snap-on edge pieces (reducers/ramps) or fascia boards that clip to the perimeter, hiding the plastic grid and creating a finished, trip-free border. These edge pieces slide seamlessly into the existing tabs, requiring zero specialized tools or complex carpentry techniques to install.
A: Generally, no. The interlocking design is engineered for DIY installation. However, complex cuts around multiple posts or severe leveling issues may require basic carpentry skills or professional assistance. If your foundation requires extensive joist repair before overlaying, we recommend consulting a structural specialist first.